Belt conveyor sizing requires verifying load capacity, belt width, and speed before purchase. This audit checklist outlines 12 critical specifications grouped by theme. It highlights common red flags that lead to under-designed systems or excessive capital costs.
- Verify the maximum load per meter against the belt breaking strength.
- Match belt width to the material type and discharge method.
- Check tensioning requirements to prevent belt slippage or track drift.
Start With Material Properties
Belt conveyor sizing begins with the material, not the machine. The nature of the cargo determines the friction, impact, and wear factors that drive every other specification. Before selecting a belt width or motor size, engineers must understand exactly what the system will carry. Misidentifying these properties is the most common source of early failures.
Identify the bulk density of the material in kilograms per cubic meter. This value sets the volume flow rate required to move the target tonnage. If the density is unknown, use a conservative estimate. Lighter materials require more volume to hit the same weight target, increasing the required belt width. For instance, moving 100 tons of low-density foam requires significantly more cubic space than moving 100 tons of gravel. This volume difference directly impacts the belt cross-section and the energy required to transport the load.
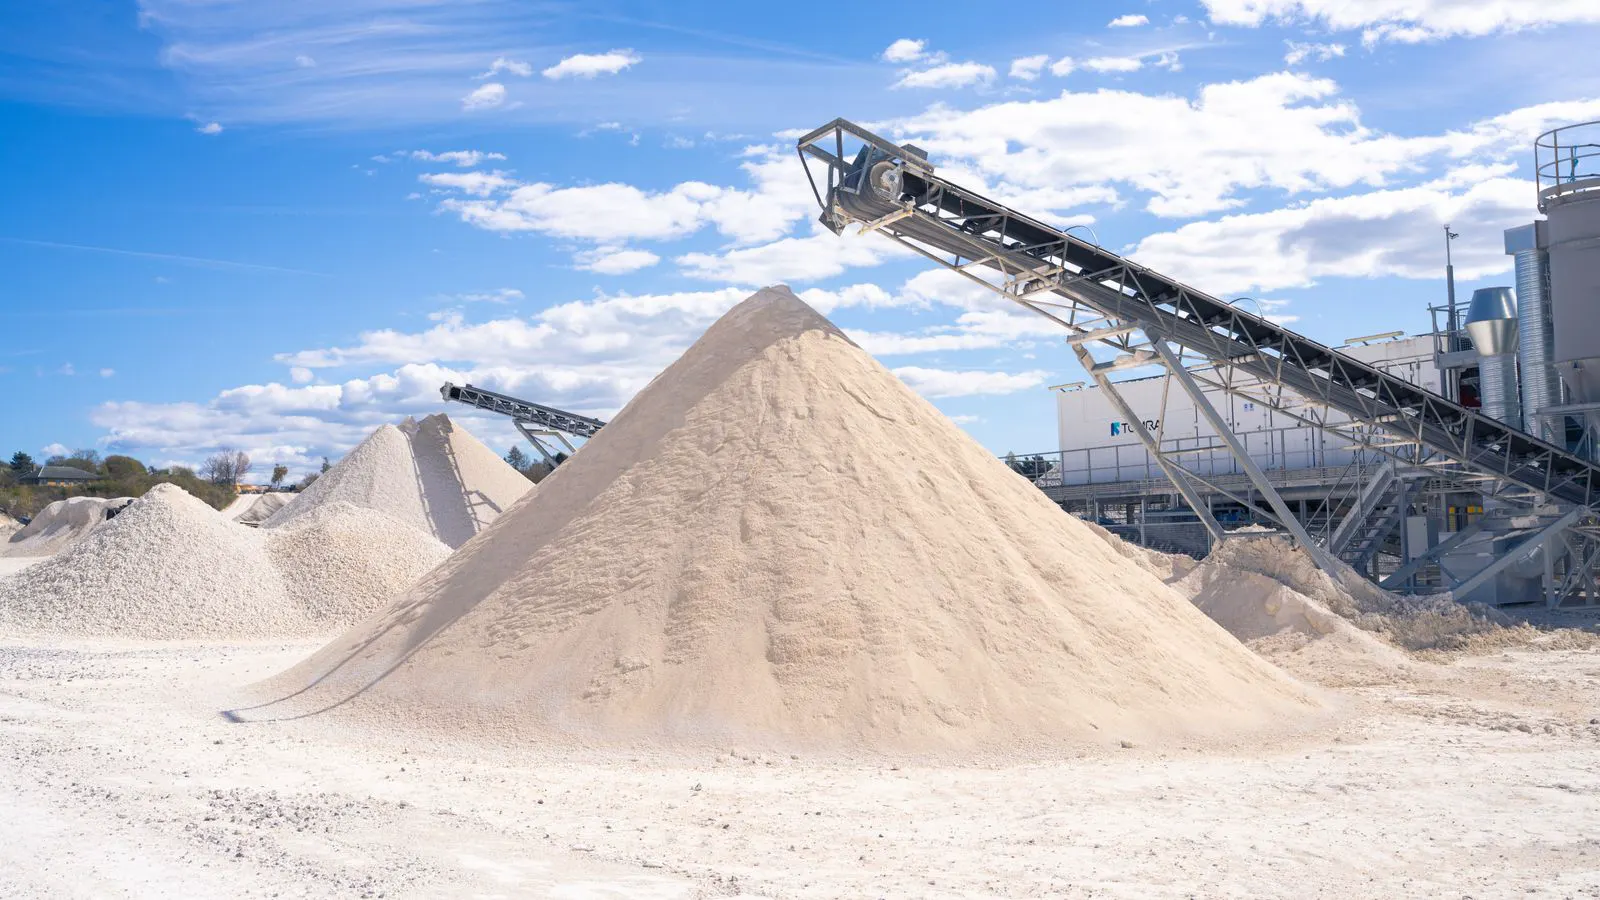
Check the material angle of repose. This is the angle formed by a pile of material at rest. A high angle of repose, such as with sand or fine powder, means the material will not flow easily off the belt. This often demands a higher belt speed or a steeper discharge chute. Fine powders may even require a belt with a textured surface to encourage flow. If the angle of repose is too high for the discharge point, material will pile up at the end of the conveyor, creating a bottleneck.
Red Flag: Assuming a standard bulk density without testing. A material that looks light but contains moisture or aggregates may be significantly denser. This leads to a belt that is under-rated for the actual mass being transported. Always verify density with a simple sample test before finalizing the design.
| Material Type | Typical Handling Concerns |
|---|---|
| Fine Powders | High dust, low density, high angle of repose |
| Abrasive Gravel | High impact load, rapid belt wear |
| Moist Soil | High density, high adhesion to belt surface |
| Finished Products | Low impact, risk of crushing or damage |
Define the Flow Requirements
Calculate the required throughput in tons per hour. Convert this into a volumetric flow rate using the material density. This determines the cross-sectional area of the belt needed at the selected speed. The formula is straightforward: mass flow rate divided by bulk density gives the volume per hour. Multiply that by the belt speed to find the required cross-sectional area.
Determine the design speed. Speed is a trade-off between capacity and energy use. Higher speeds move more material per hour but require stronger belts and tighter tensioning. Lower speeds reduce mechanical stress but increase the required belt width. For most general industrial applications, speeds range from 1 to 4 meters per second. High-speed applications can exceed this, but they demand precision alignment and specialized belt profiles.
Consider the impact of speed on the material itself. Some finished products, like packaged goods or delicate components, cannot tolerate high acceleration or deceleration. In these cases, a lower speed is mandatory, even if it means using a wider belt to maintain the same hourly throughput.
Red Flag: Selecting speed based on conveyor length alone. A short conveyor does not need high speed to meet a small hourly target. Over-speeding a short line wastes energy and stresses the drive system. Always calculate speed based on the required tonnage and belt width, not the distance the material must travel.
Verify Structural Capacity
Check the belt breaking strength. This is the maximum force the belt can withstand before tearing. It must exceed the tension required during operation, including the tension generated by the drive pulleys and the load. Manufacturers often specify breaking strength in kilonewtons. When selecting a belt, ensure the breaking strength is at least 1.5 to 2 times the maximum calculated tension.
Verify the belt width selection. The width must accommodate the load without material spilling over the edges. For low-impact materials, a belt width equal to the load width plus a small margin is often sufficient. For high-impact or high-speed materials, wider belts provide a safety margin for tracking errors. A good rule of thumb is to allow at least 50 to 100 millimeters of extra width per side for materials that bounce or shift during transport.
Review the support spacing. The distance between idlers and rollers affects the sag of the belt. Excessive sag increases the risk of belt wrap around the head pulley and can cause material spillage. Typical idler spacing ranges from 800 to 1200 millimeters, depending on the belt width and load. Wider belts require closer spacing to prevent excessive deflection.
Red Flag: Ignoring the impact load. The force of material dropping onto the belt can be several times the static weight. A belt sized only for static load will fail under dynamic impact. If material falls from a height greater than 300 millimeters, you must calculate the impact force separately and apply a dynamic load factor.
Analyze Tension and Tracking
Determine the required belt tension. Tension prevents slippage on the drive pulley and maintains contact with the idlers. It is calculated based on the load, the friction coefficient, and the pulley diameter. Higher tension improves grip but increases the load on the bearings and structure. There is a balance point where tension is high enough to prevent slippage but low enough to keep the structure efficient.
Check the tracking system. A belt that tracks poorly will wear the edges and damage the side walls of the conveyor structure. Automatic tracking sensors and adjustable idlers are standard features for long conveyors. Manual tracking adjustments are labor-intensive and prone to human error. For conveyors longer than 20 meters, automatic correction is strongly recommended.
Verify the idler arrangement. Carrying idlers support the belt and load. Snub idlers may be used to reduce belt slippage. Proper idler spacing is critical for maintaining belt tension and alignment. Head pulleys and tail pulleys must be precisely aligned with the carrying idlers. A misalignment of even a few millimeters can cause the belt to drift toward one side.
Red Flag: Underestimating the friction coefficient. Wet or sticky materials increase the friction between the belt and the pulley. This requires higher tension to prevent slippage. Always use the maximum expected friction coefficient for the material in your design calculations.
Inspect Drive and Power Systems
Select the drive power. The motor must provide enough torque to start the belt under load and maintain the design speed. Include a safety factor for starting conditions, where the belt is stationary and the load is fully on the belt. Starting power is often 1.5 to 2 times the running power. If the motor is under-sized, the drive will stall when the belt starts moving, especially if the material is dense or sticky.
Check the pulley diameter. Smaller pulleys allow higher speeds but increase the bending stress on the belt. Larger pulleys reduce stress but increase the tension required. For heavy-duty applications with abrasive materials, larger pulley diameters are preferred to extend belt life. The minimum pulley diameter is usually specified by the belt manufacturer based on the belt type and thickness.
Verify the braking system. For inclined conveyors or high-capacity lines, a braking system is required to prevent the conveyor from running backward under load. The brake must be sized to hold the maximum load. If the brake fails, the conveyor can run away, which is a serious safety hazard. Brakes should be fail-safe, meaning they engage when power is lost.
Red Flag: Sizing the motor based on running power only. The starting power is typically higher than the running power. Using a motor sized only for running conditions can cause the drive to stall during startup. Always check the starting torque requirements of the drive system.
Review Safety and Maintenance Features
Include safety guards. Guards protect operators from moving parts and prevent contact with the belt and idlers. They must be accessible for maintenance and inspection. Guards should be made of steel or aluminum and secured with screws, not rivets, to allow easy removal. Interlock switches on guard doors are recommended for high-risk areas.
Check the cleaning system. Accumulated material on the belt or idlers can cause tracking issues and fire hazards. Scrapers, belt cleaners, and idler cleaners help maintain cleanliness. For fine powders or combustible dusts, cleaning is critical to prevent explosion risks. Cleaners should be positioned at the head and tail pulleys, and at regular intervals along the belt.
Verify the emergency stop. A clearly visible and accessible emergency stop button must be installed at all access points. The stop must cut power to the drive and engage the brake. Emergency stops should be tested regularly to ensure they function correctly.
Red Flag: Omitting the belt cleaner. Even with good tracking, small particles will accumulate. Without a cleaner, material builds up on the idlers, leading to misalignment and eventual belt failure. A simple scraper at the head pulley can prevent 90% of tracking problems caused by buildup.
Confirm Documentation and Compliance
Request the load test report. The supplier should provide a calculation showing that the belt and structure can handle the maximum load. This document verifies that the design meets the specified throughput. The report should include the material properties, belt specifications, tension calculations, and structural load analysis.
Check the material certificates. The belt material, steel grade, and fasteners should have certificates verifying their composition and strength. This is particularly important for high-temperature or corrosive environments. For example, if the conveyor will handle hot slag, the steel frame must be rated for high temperatures. Material certificates ensure that the components will not fail prematurely.
Review the warranty terms. The warranty should cover the belt, structure, and drive system. Clarify what happens if the conveyor fails due to a design error. A good warranty will cover manufacturing defects but may exclude damage caused by improper installation or misuse. Read the fine print carefully.
Red Flag: Vague load ratings. If the supplier cannot provide a specific load calculation, the design may be based on guesswork. Always request the engineering drawings and calculations before finalizing the purchase. A professional supplier will provide a detailed specification sheet with all design parameters.
Perform a Final Audit
Run through this checklist before signing the purchase order.
- Material bulk density confirmed.
- Required throughput calculated in tons per hour.
- Belt width selected based on load and speed.
- Belt breaking strength verified against tension.
- Drive power and pulley diameter selected.
- Tracking and tensioning system specified.
- Safety guards and emergency stops included.
- Maintenance access and cleaning system planned.
- Load test report received from supplier.
- Material certificates for belt and structure.
- Warranty terms reviewed and understood.
- Installation and commissioning schedule agreed.
A final audit prevents costly errors. It ensures that every specification aligns with the operational requirements. It also provides a clear reference point for any future modifications or troubleshooting. Without this step, you are relying on assumptions rather than verified data. Take the time to check each item. A small oversight in the design phase can lead to major downtime later.
Frequently asked questions
What is the minimum belt width for a standard industrial conveyor?
There is no single minimum. The width depends on the material width, speed, and impact load. A common starting point is 300 mm to 1500 mm, but heavier or faster applications require wider belts.
How do I know if my current belt is under-sized?
Look for material spillage, belt stretching, or drive motor overheating. If the belt slips on the drive pulley under load, it is likely under-sized for the friction and tension requirements.
Can I increase the speed of an existing conveyor?
Only if the belt breaking strength, drive power, and idler spacing can handle the higher tension and impact loads. Increasing speed increases the tension required, which may require new belts or a larger drive.
What is the impact of moisture on belt conveyor sizing?
Moisture increases the bulk density and the friction between the belt and pulley. This requires a higher tension to prevent slippage and may necessitate a stronger belt or a larger pulley diameter.
How often should I inspect the belt for wear?
Inspect the belt regularly, ideally during routine maintenance. Check for cuts, cracks, and edge wear. Inspect more frequently if the material is abrasive or if the belt is operating at high speed.